 |
| Tank before paint stripping |
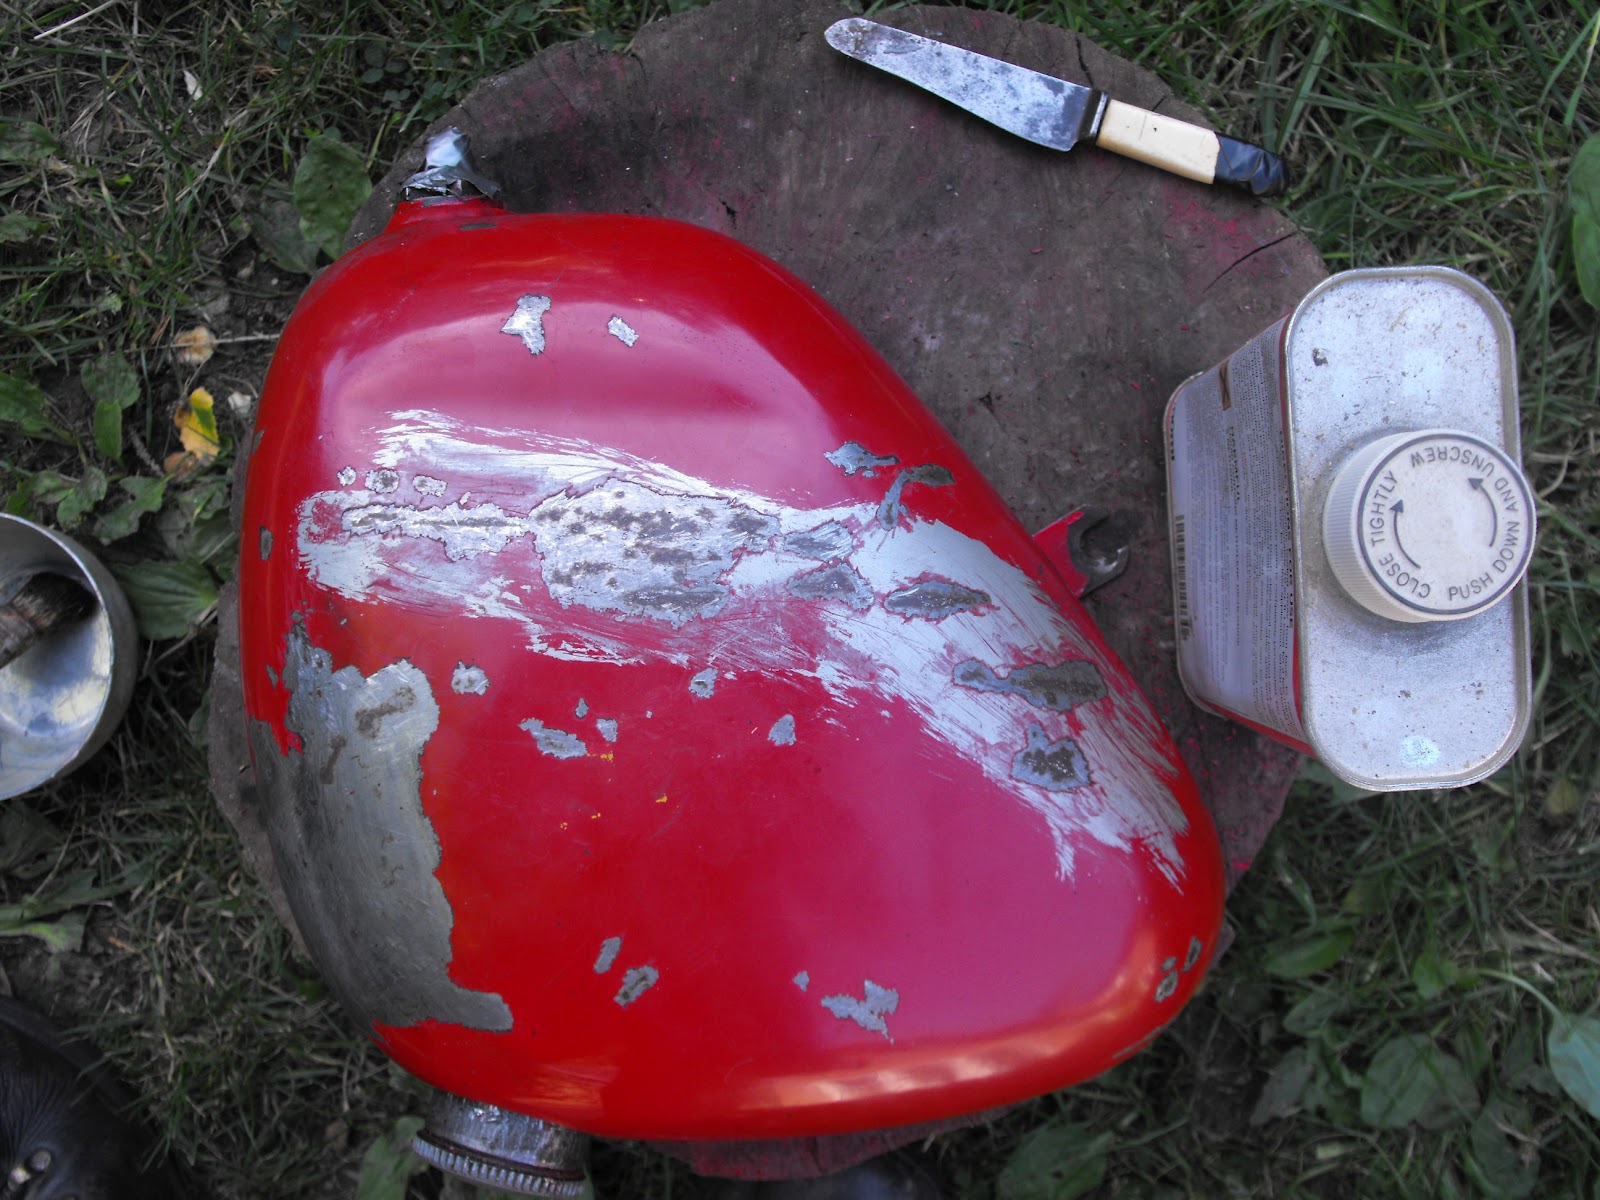
I started sanding the oil tank, but large sections of paint just flaked off, and there was rust underneath some with no visible sign on the surface. I took some advice, and used paint stripper to remove all the paint, to great effect.
 |
| The paint just bubbles off |
 |
| The whole tank bubbling off |
Paint stripper is very easy to use; brush on a thin coat, dab on a thicker coat, and scrape the paint off. This removed virtually all of the paint, exposing all the rust.
 |
| The front of the tank |
 |
| The back of the tank |
I then sanded off the rust using wet and dry paper, to leave a good finish for painting.
There appears to have been a brazed repair on the back of the tank, to fix the bolt hole. Also, there is a small D stamped into the protruding bracket, andh a couple of dents to fill.


I then hung it out and primer etched it, using less this time than the battery cover.


 I have also sprayed the battery cover with primer filler. I hung it in the same way, and gave the whole thing a thin coat. I then left it to dry, and repeated. It has got a little too cold to carry on now, so I will give it the final few coats tomorrow.


